気がつけば10ヶ月以上、更新してなかったんですね。今回は、GLSL(OpenGLShadingLanguage)を使って影の表現を試してみました。
GLSLとは?
GLSL(OpenGLShadingLanguage)は、WebGLにも採用されている、グラフィック描画に特化したプログラミング言語になります。GLSLはGPUによって解釈されるので、JavaScriptだけでは難しい高負荷な計算処理も、難なくこなす事が出来ます。
GLSL Sandbox
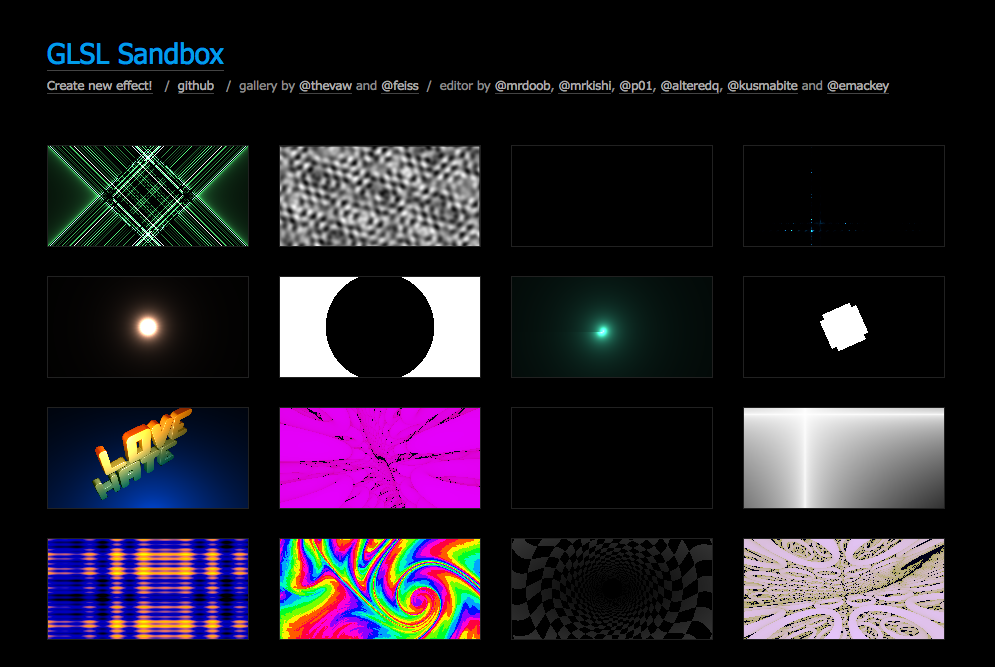
こちらのサイトでは、多くのGLSLのコードと、その結果を見ることができます。
GLSLのフラグメントシェーダーというもので、1つのドットに対して実行されるコードで、この計算式に自身の位置と、時間軸やマウス座標等を与える事で、そのドットが何色を表示するかという計算式になります。
実際に書いてみた
GLSLをWebサイトに導入する方法はWebGLを使うことですが、実際どんな感じになるのか、コードを書いてみました。
マウスを光源としたイメージで、後ろに影が映り込む感じのシェーダーを書いています。
ソースコードは以下より参照ください。
▼ HTML・JSコード
<canvas id="canvas" width="512" height="512"></canvas>
<canvas id="texture" width="512" height="512" style="display: none;"></canvas>
<script src="https://code.jquery.com/jquery-3.2.1.min.js"></script>
<script>
  $(function () {

      var WIDTH = 512;
      var HEIGHT = 512;

      // マウス座標
      var mouseX = 0.5;
      var mouseY = 0.5;
      var moveX = 0.5;
      var moveY = 0.5;

      // テクスチャ用CANVAS
      var textureCanvas = document.getElementById('texture');
      textureCanvas.width = WIDTH;
      textureCanvas.height = HEIGHT;
      var textureContext = textureCanvas.getContext('2d');
      textureContext.fillStyle = '#ffffff';
      textureContext.fillRect(0, 0, WIDTH, HEIGHT);

      // GLSL描画用CANVAS
      var webglCanvas = document.getElementById('canvas');
      webglCanvas.width = WIDTH;
      webglCanvas.height = HEIGHT;
      var webglContext = webglCanvas.getContext('webgl', {preserveDrawingBuffer: true});
      webglContext.viewport(0, 0, WIDTH, HEIGHT);

      // プログラムの取得
      var program = webglContext.createProgram();

      // テクスチャ読み込み
      loadTexture('./texture.png', function(texture){
          textureContext.drawImage(texture, 0, 0, WIDTH, HEIGHT);

          // フラグメントシェーダ読み込み
          loadFragmentShader('./fragment.glsl', function(shader){

              // フラグメントシェーダ設定
              var fragmentShader = webglContext.createShader(webglContext.FRAGMENT_SHADER);
              webglContext.shaderSource(fragmentShader, shader);
              webglContext.compileShader(fragmentShader);
              webglContext.attachShader(program, fragmentShader);

              // バーテックスシェーダ読み込み
              loadVertexShader('./vertex.glsl', function(shader){

                  // バーテックスシェーダ設定
                  var vertexShader = webglContext.createShader(webglContext.VERTEX_SHADER);
                  webglContext.shaderSource(vertexShader, shader);
                  webglContext.compileShader(vertexShader);
                  webglContext.attachShader(program, vertexShader);

                  // シェーダをリンク
                  webglContext.linkProgram(program);

                  // プログラムオブジェクトの有効化
                  webglContext.useProgram(program);

                  // 頂点データ
                  var vertices = new Float32Array([-1, -1, 0, -1, 1, 0, 1, -1, 0, 1, 1, 0]);
                  var verticesBuff = webglContext.createBuffer();
                  webglContext.bindBuffer(webglContext.ARRAY_BUFFER, verticesBuff);
                  webglContext.bufferData(webglContext.ARRAY_BUFFER, vertices, webglContext.STATIC_DRAW);
                  var vertexAttr = webglContext.getAttribLocation(program, 'vertex');
                  webglContext.enableVertexAttribArray(vertexAttr);
                  webglContext.vertexAttribPointer(vertexAttr, 3, webglContext.FLOAT, false, 0, 0);

                  // テクスチャデータ
                  var texture = webglContext.createTexture();
                  webglContext.bindTexture(webglContext.TEXTURE_2D, texture);
                  webglContext.texImage2D(webglContext.TEXTURE_2D, 0, webglContext.RGBA, webglContext.RGBA, webglContext.UNSIGNED_BYTE, textureCanvas);
                  webglContext.generateMipmap(webglContext.TEXTURE_2D);

                  // テクスチャ座標
                  var coord = new Float32Array([0,1, 0,0, 1,1, 1,0]);
                  var coordBuff = webglContext.createBuffer();
                  webglContext.bindBuffer(webglContext.ARRAY_BUFFER, coordBuff);
                  webglContext.bufferData(webglContext.ARRAY_BUFFER, coord, webglContext.STATIC_DRAW);
                  var coordAttr = webglContext.getAttribLocation(program, 'coord');
                  webglContext.enableVertexAttribArray(coordAttr);
                  webglContext.vertexAttribPointer(coordAttr, 2, webglContext.FLOAT, false, 0, 0);

                  // マウス座標
                  $('#canvas').on('mouseenter', function(e) {
                    $('#canvas').on('mousemove', onMouseMove);
                  });
                  $('#canvas').on('mouseleave', function(e) {
                    $('#canvas').off('mousemove', onMouseMove);
                      mouseX = 0.5;
                      mouseY = 0.5;
                  });
                  function onMouseMove(e) {
                      mouseX = e.clientX / WIDTH;
                      mouseY = e.clientY / HEIGHT;
                  }

                  // レンダリング
                  render();

                  // レンダリング
                  function render() {
                      uniform = {};

                      // マウス座標のイージング
                      moveX += (mouseX - moveX) * 0.1;
                      moveY += (mouseY - moveY) * 0.1;

                      // uniform変数mouseのロケーション取得
                      uniform.mouse = webglContext.getUniformLocation(program, 'mouse');

                      // uniform変数をプッシュ
                      webglContext.uniform2fv(uniform.mouse, [moveX, moveY]);

                      // 描画
                      webglContext.drawArrays(webglContext.TRIANGLE_STRIP, 0, 4);
                      webglContext.flush();
                      webglContext.finish();

                      // 再起
                      requestAnimationFrame(render);
                  }

              });
          });

      });

      // テクスチャ読み込み
      function loadTexture(src, cb) {
          var image = new Image();
          image.onload = function () {
              cb(image);
          };
          image.src = src;
      }

      // フラグメントシェーダ読み込み
      function loadFragmentShader(src, cb) {
          $.ajax(src, {
              type: 'get',
              dataType: 'text'
          }).done(function(data){
              cb(data);
          });
      }

      // バーテックスシェーダ読み込み
      function loadVertexShader(src, cb) {
          $.ajax(src, {
              type: 'get',
              dataType: 'text'
          }).done(function(data){
              cb(data);
          });
      }

    });
</script>
▼ fragment.glsl
precision highp float;

varying vec2 vCoord;
uniform sampler2D texture;
uniform vec2  mouse;

void main(void){
    vec2 position = vCoord;
    float distance = length(position - mouse);
    float textureX = ((position.x - mouse.x) / (1.0 + distance)) + mouse.x;
    float textureY = ((position.y - mouse.y) / (1.0 + distance)) + mouse.y;
    vec4 colorShadow = texture2D(texture, vec2(textureX, textureY));
    vec4 colorBase = texture2D(texture, vCoord);
    vec4 color = vec4(0, 0, 0, 0);
    if (0.0 < colorBase.a && (colorBase.r < 1.0 || colorBase.g < 1.0 || colorBase.b < 1.0)) {
        // Charactor Area
        color.r = colorBase.r + ((0.2 - distance) * 2.0);
        color.g = colorBase.g + ((0.2 - distance) * 2.0);
        color.b = colorBase.b + ((0.2 - distance) * 2.0);
        color.a = colorBase.a;
    } else if (0.0 < colorShadow.a && (colorShadow.r < 1.0 || colorShadow.g < 1.0 || colorShadow.b < 1.0)) {
        // Shadow Area
        color.r = colorShadow.r + 0.8 + (distance * 0.2);
        color.g = colorShadow.g + 0.8 + (distance * 0.2);
        color.b = colorShadow.b + 0.8 + (distance * 0.2);
        color.a = colorShadow.a;
    }
    gl_FragColor = color;
}
▼ vertex.glsl
attribute vec3 vertex;
attribute vec2 coord;
varying vec2 vCoord;

void main(void){
    gl_Position = vec4(vertex, 1.0);
    vCoord = coord;
}
まとめ
今回、初めてシェーダーを書いてみましたが、わからないことだらけで、ちゃんと勉強しなきゃいけない分野だなと実感しました。自由に操れれば、今までに無いような表現力をつけられるなと、とても可能性を感じます。GPUを使うことで、より複雑なアニメーションであっても、不可なく再現することができるのは、非常にありがたいことです。Webコンテンツでの活用方法を今後模索していきたいと思いました。
次回は、今回の表現をpixi.jsのカスタムシェーダーを使って、さらにリッチなものにしていきたいと思います。

